How to get started with Galileo Evaluate
Create a Galileo Account
- Go to your Galileo console page (a link that looks something like “console.galileo.yourcompany.com”). Speak to your Galileo Admin, or send a Slack on your shared Galileo slack channel if you don’t know the URL.
- Create an account by asking your Admin to send you an invite or directly via the Console homepage.
Install the Galileo Client
- Python
- TypeScript
- Open a Python notebook or any python environment where you want to install Galileo
-
Install the python client via pip install
promptquality - Next, run the following code to create your first run. Replace YOUR_GALILEO_URL with your Galileo console page URL (looks something like “console.galileo.yourcompany.com”).
Authentication
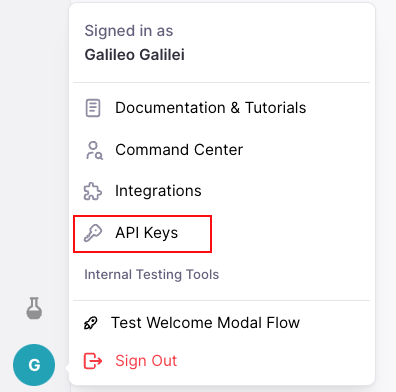
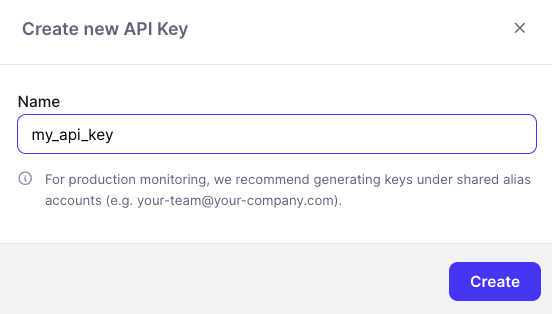
By default,pq.login() will take the user to the Galileo console to copy and paste a short term token.Alternatively, it is possible to programmatically authenticate a user by setting the GALILEO_API_KEY environment variable.Getting an API Key
To create an API key:Running your first eval
First, create an eval set. Once you have your eval set, you’re ready to start your first evaluation run:-
If you have not written any code yet and are looking to evaluate a model and template for your use case, check out Creating Prompt Runs.
- If you want to try multiple templates or model combinations in one go, check out Prompt Sweeps
- If you have an application or prototype you’d like to evaluate, check out Integrating Evaluate into my existing application.


