As of August 7, 2026, Galileo is now Splunk Agent Observability. This documentation applies to customers who onboarded prior to August 7, 2026. If you onboarded after this date, use agent-observability-docs.splunk.com.
Sign up, configure your first integration, and launch a Luna Studio training run.
This walkthrough takes you from a fresh sign-up through a custom metric training run. If the resulting metric passes registration preflight and your deployment has a Galileo connection, you can also publish it to the Galileo metrics store.
Enterprise tier and your own deployment. Luna Studio is part of the enterprise tier of Galileo and is deployed by Galileo into your own cluster or cloud. See Availability and deployment, or contact
us to get started.
You’ll need:
An instance of Luna Studio deployed for your org (Luna Studio is part of the enterprise tier — see Availability and deployment).
A labelled CSV test dataset with the columns your metric requires, at least 300 rows total, and at least 100 examples per class. The source picker can ingest JSONL, but current run processing requires CSV.
Optional for training, required for import and registration: a Galileo API connection configured by your Luna Studio deployment operator.
Don’t have a labelled training dataset yet? Luna Studio can generate a training set from your test set — see the training-set step below. The test set still needs enough labelled rows for reliable
evaluation.
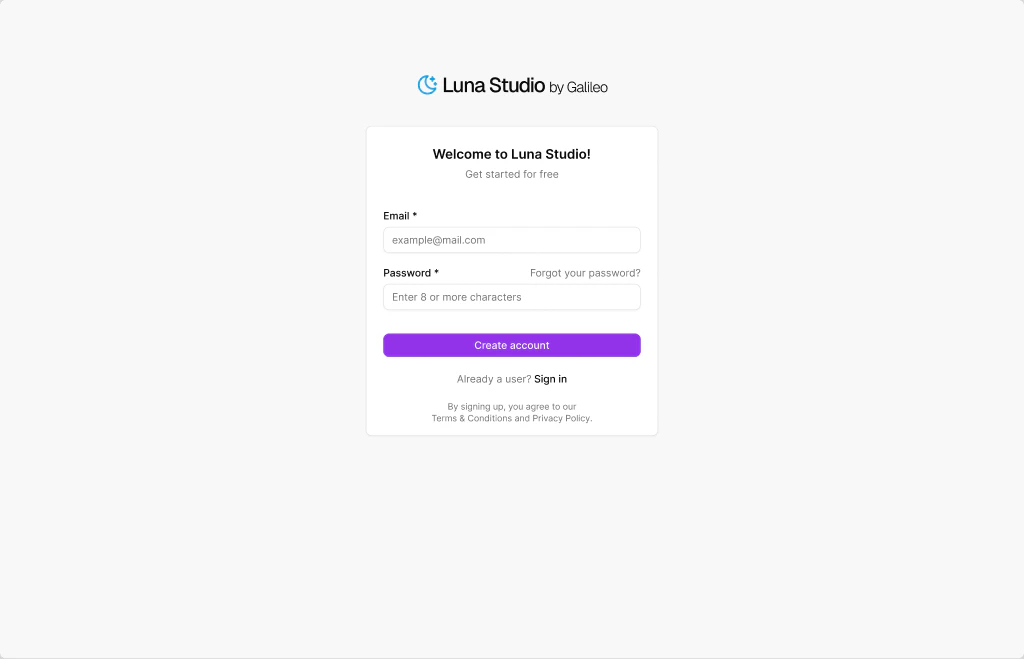
Open your org’s Luna Studio URL and create an account.
Create a Luna Studio account
Enter an email and a password (8+ characters), accept the terms, and click Create account.
2
Connect your first LLM provider
On first launch, Luna Studio drops you into the onboarding wizard. Pick a supported LLM provider, such as OpenAI or Anthropic, and click Add integration on the card.A modal opens for the provider’s API key. Paste it and click Save changes.If you plan to import from Galileo or register the result, confirm that your deployment operator configured the Galileo connection. The current backend uses the deployment’s Galileo API URL and key for those operations.
3
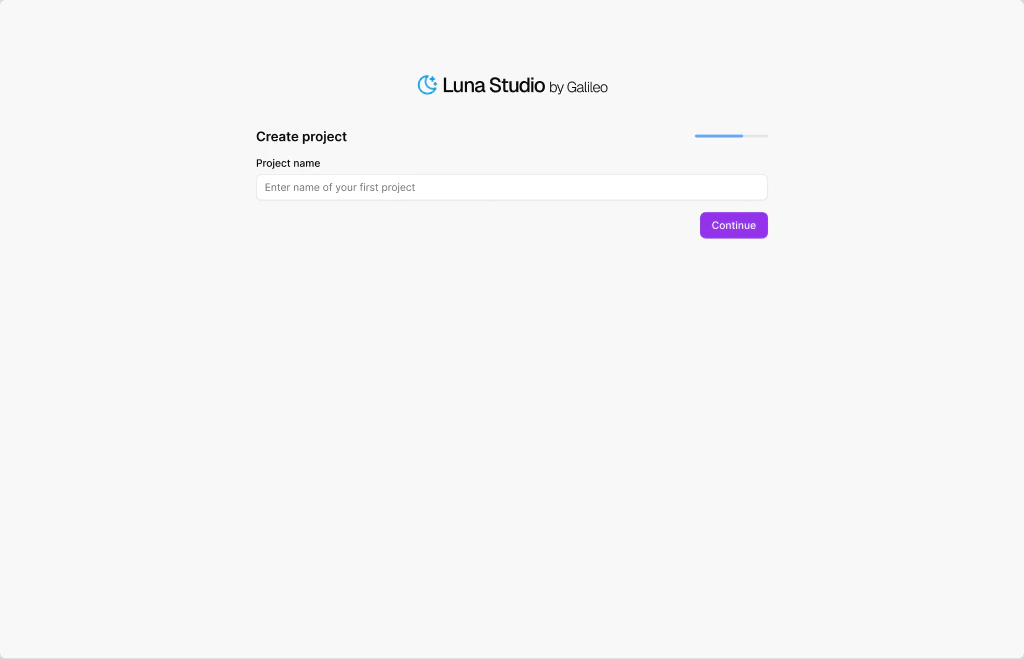
Create your first project
Click Continue and enter a project name (e.g. support-tone-classifier). Click Continue again — Luna Studio creates the project and routes you to its Training runs page.
Onboarding, step 2 — name your first project
4
Start a new training run
On the project page, click New run in the top right. The run creation flow opens at Step 1 — Metric.
5
Pick a metric (Step 1)
Pick a metric from the dropdown. The list includes Galileo presets, custom Galileo metrics, and saved custom prompts that are trainable in Luna Studio.Or click the dropdown’s Use custom prompt option to write your own LLM-as-judge prompt. See Step 1: Metric for the full reference.Click Next step.
6
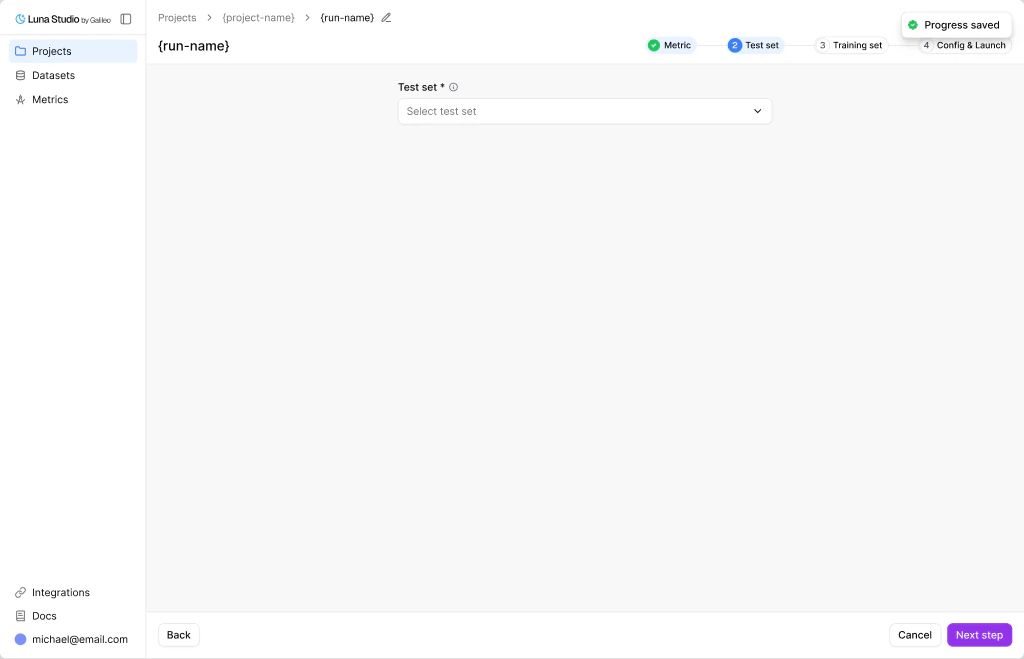
Add a test set (Step 2)
Pick an existing test set from the dropdown, or click Add new test set to upload one.
New run, Step 2 — pick or upload a test set to evaluate against
Test sets need the feature columns required by your metric shape, plus a label column. Because you are adding the dataset inside the run wizard, Luna Studio runs metric-aware validation before attaching it to the run. Resolve any highlighted errors before continuing.Click Next step.
7
Add a training set (Step 3)
Choose a training source:
Generate from test set (recommended for a first run) — Luna Studio uses 20% of your test set as seed examples and targets 2,000 synthetic labelled examples using your LLM-as-judge prompt from Step 1. Enhancement examples can be appended, so the final row count may be higher.
Add training logs — upload or import your own production logs.
Use existing training set — reuse a training dataset that already exists in your workspace.If you pick Generate, a drawer opens. Pick a model from your configured providers and click Generate sample dataset. Data generation moves through Queued → Generating data → Data ready inside Step 3. Review the sample rows, select any that should steer regeneration, and click Generate final dataset. Wait for the final dataset to be ready before continuing.Click Next step.
8
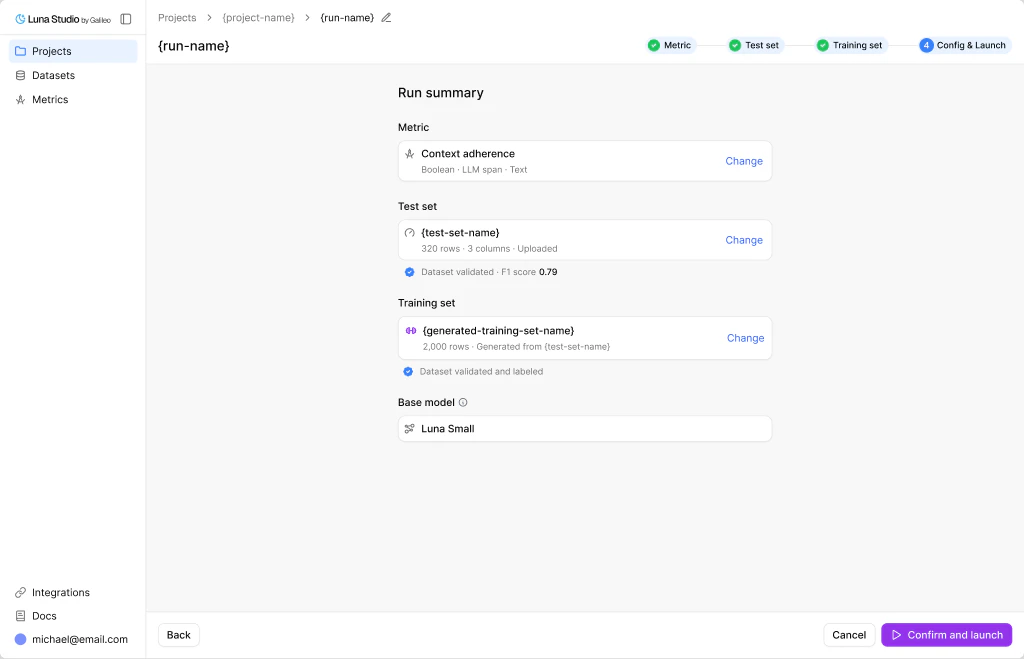
Confirm and launch (Step 4)
Review the run summary. The base model is selected from the models configured for your organization.
New run, Step 4 — pick a base model and launch fine-tuning
Click Confirm and launch. The run enters the Queued state and you’re routed back to the project page.
9
Wait for training to complete
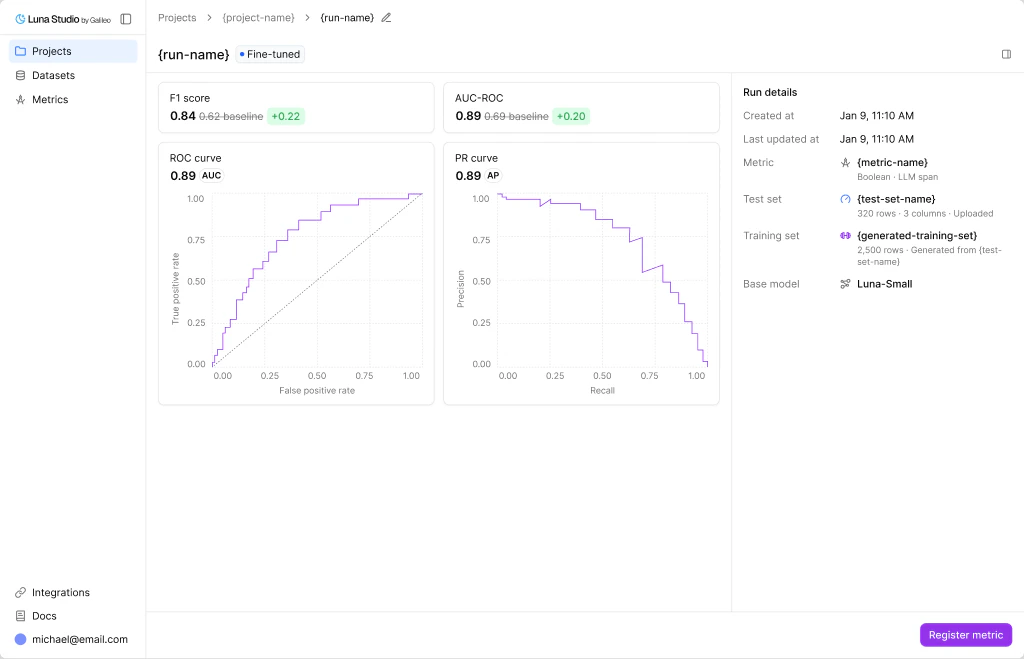
Click the run row to open its details page and see live status. After Confirm and launch, the fine-tuning run follows Queued → Training → Fine-tuned. Any Generating data and Data ready states occurred inside Step 3 before launch.Once the run reaches Fine-tuned, the run details page shows a metrics grid (F1 score, AUC-ROC, etc.) versus a baseline.
Run details for a fine-tuned run, ready to register
10
Register your metric
If the registration preflight passes, the Register metric button in the run details footer is enabled. Enter a metric name and click Register.After registration succeeds, the metric appears in the Galileo metrics store and the run’s status flips to Registered. If the action is disabled, use its blocker tooltip and registration prerequisites to identify the unsupported contract or missing integration.
You’ve now created your first custom Luna metric. If you completed the optional registration step, it is also published to Galileo.